We all have different ways of shooting but this is quick look at a recent studio lit motorbike shoot of a YZF-R1 Yamaha at GT Motorcycles. You can see the wider scene here. Although we had mains power (image left) I used a battery pack on the strobe to the right of frame to save trailing the lead through the shot.
We shot tethered to the Mac which was sat in the car boot. The camera was a Nikon D810 with 70-800 ƒ2.8 and the lights were a mix of Bowens studio strobes (1500, 1000, 400 and 250) as well as a couple of Nikon speedlights in support. Camera was released by the Nikon wireless release which saves mileage.
- Set the bike up, no lights, possibly auto everything on the camera, just see if it frames.
- Reset the camera, manual, base ISO, shutter delay mode. Expose with strobe settings to see what daylight bleed there is, ideally a black exposure.
- Start building the lights, check with light meter and remote trigger, I’m starting with the top 2-metre strip.
- Lighting the front of bike with a red gelled light.
- Lighting the side, initially ungelled.
- Lighting the side, reducing exposure/position, still ungelled.
- Lighting the side, blue gel (takes exposure down a bit).
- Start to light the rear, tyre edges useful in low key shots.
- We readjusted the top strip for position, to be honest it was triggering erratically, a pain!
- Dropped a blue gelled speedlght (SU4 mode) behind the bike to define the rear wheel.
- Changed speedlight gel to red.
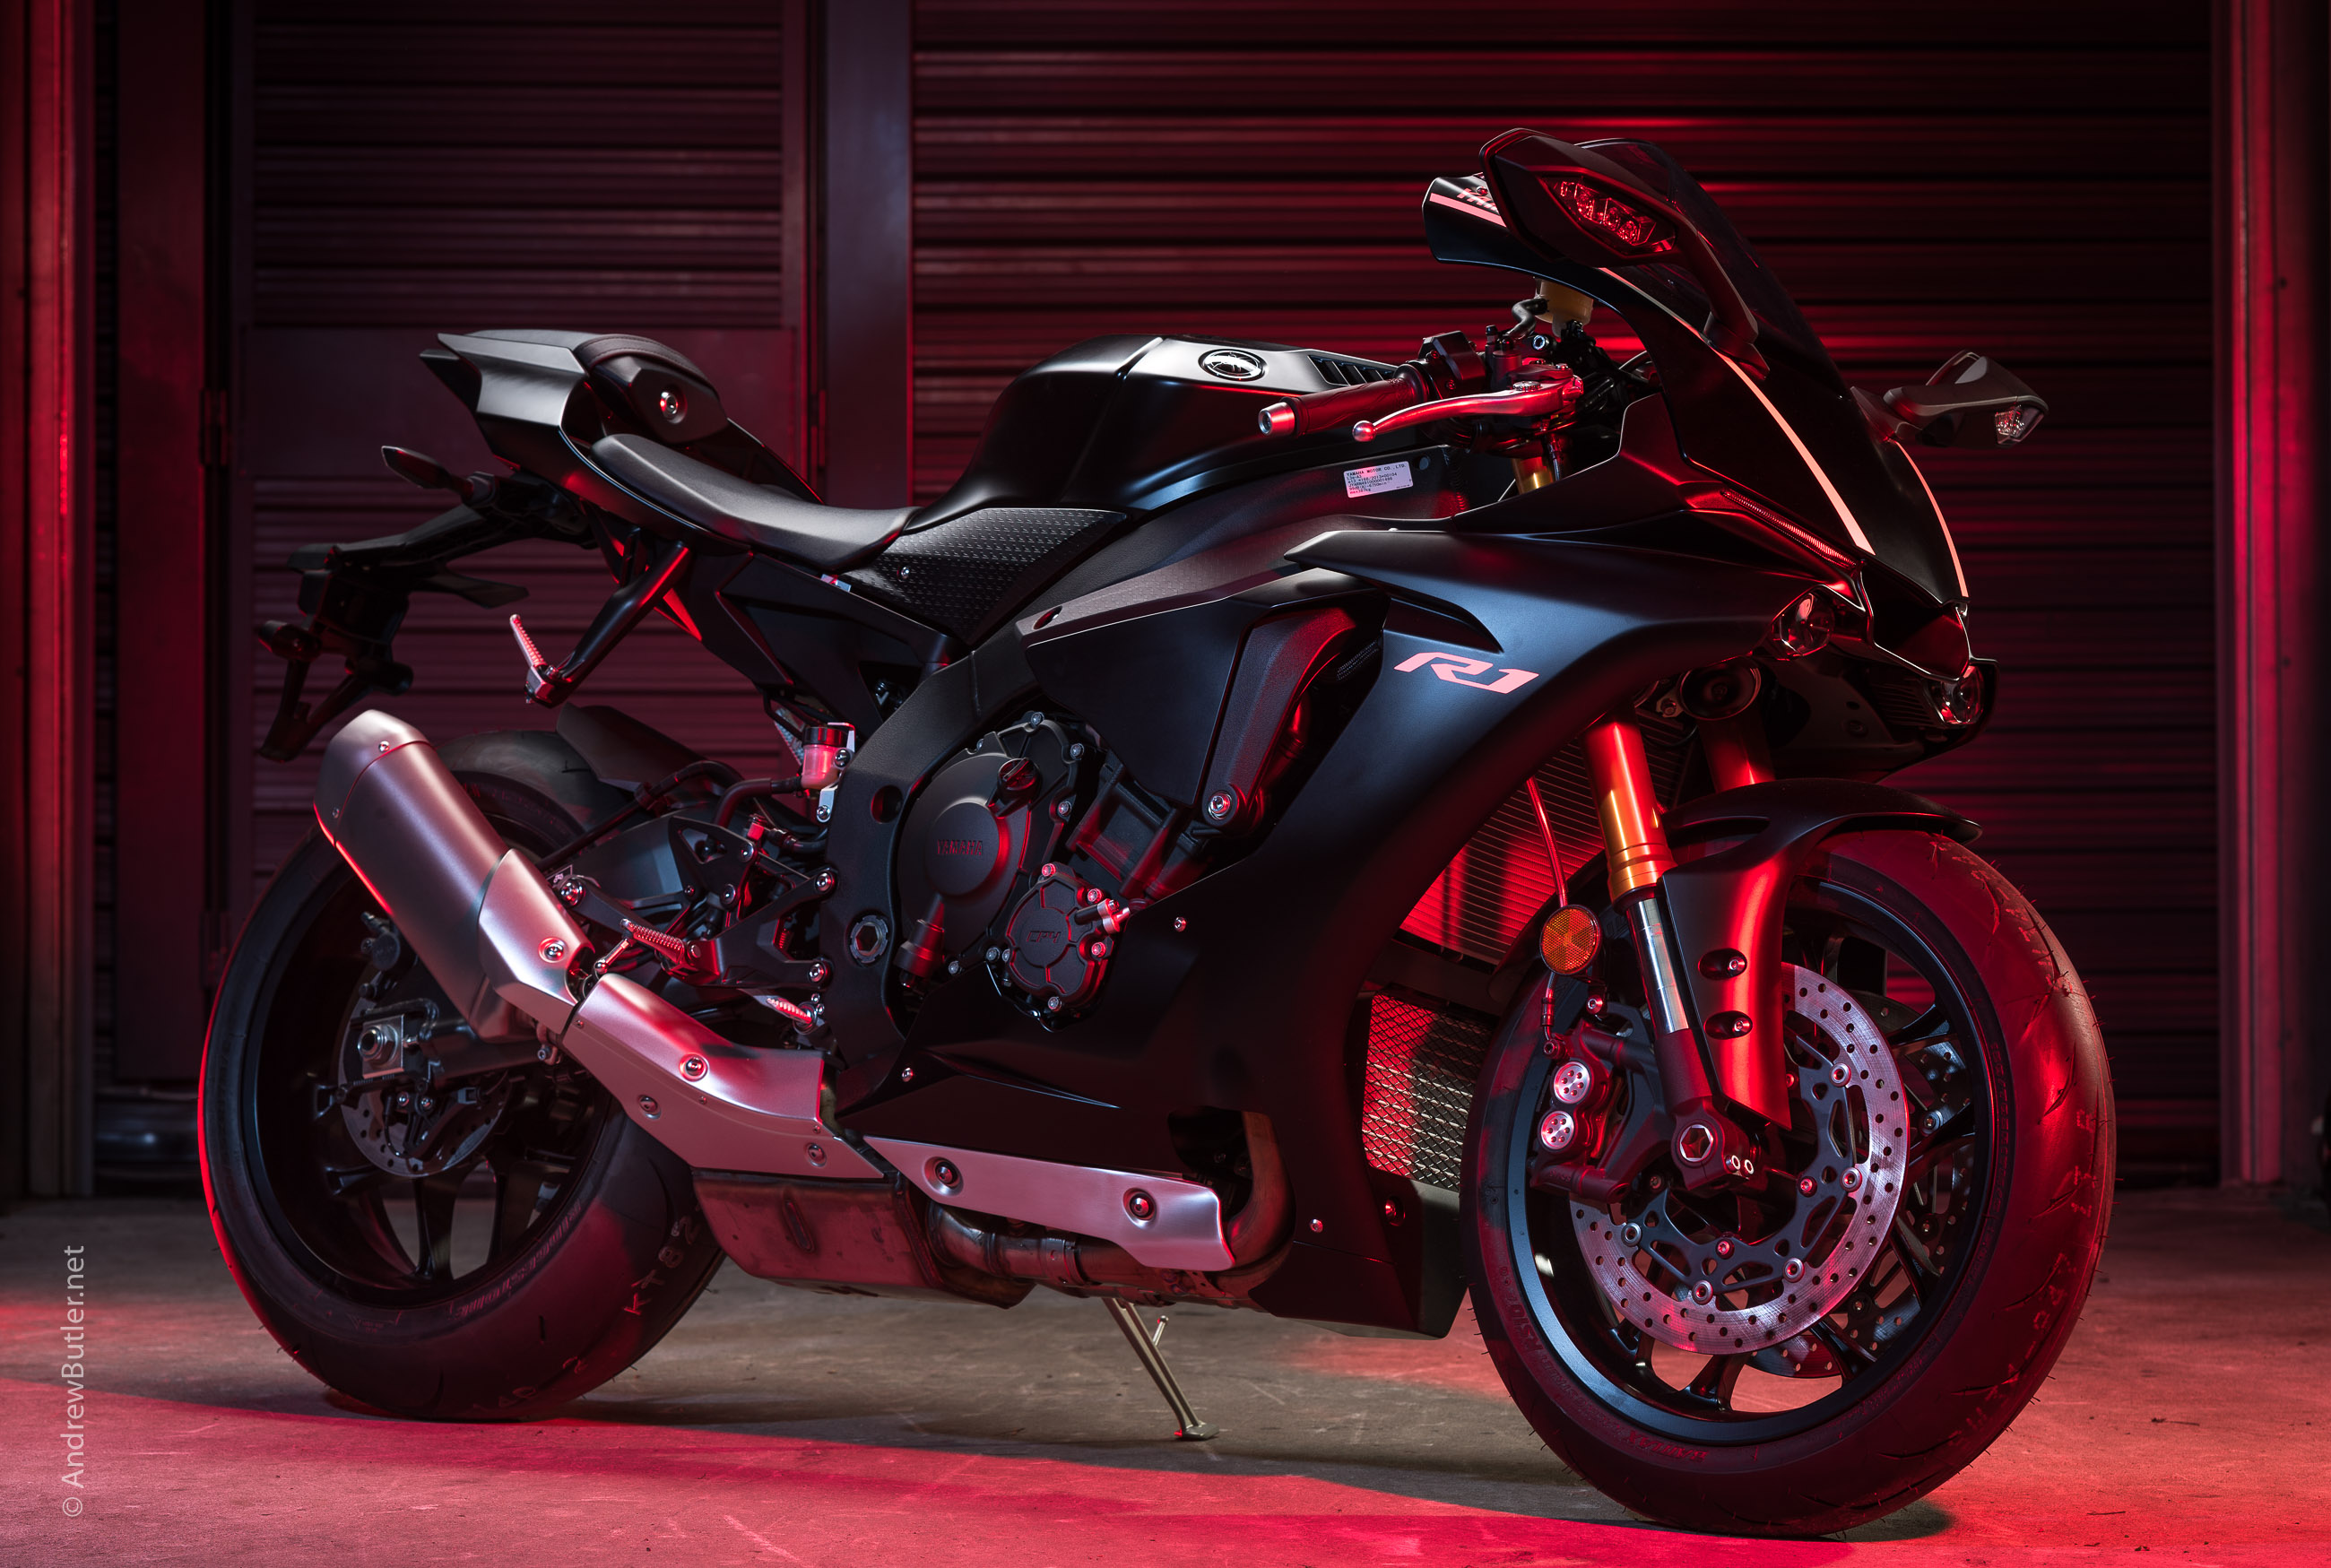
- Red gel on rear tyre light. Pretty much final shot
Gallery of Images Showing Motorcycle Location Shoot


Motorcycle Photography Shoot: Summary
So to recap, set the bike and camera up and check that the shot will work (I didn’t even focus properly here). I allow a bit of crop room but not too much, this shot needs to be used landscape. Work one at a time with the lights. I like to start with the top.
I shoot on shutter delay mode to get rid of any mirror bounce. The D810 is better than the D800e but why risk it?
I shoot tethered and check focus on the MacBook. I sometimes walk round handholding a strobe and lighting specific areas in case I need to lift anything, better safe than annoyed later. Assuming the camera hasn’t moved bits can be painted in with adjustment layers in Photoshop. However if I can do it all in Lightroom I’m a happy bunny.