The Background
I hate buying hard-drives, there is nothing particularly exciting about it and every time one starts to go I know I will need two because I always back-up the drives. In truth they are unbelievably cheap now compared to earlier times but there is no fun in buying them. There is a lot of misery to a drive failing though.
Anyway, one of the four photo drives that I have connected to the MacBook was clearly starting to fail, so I replaced it with a Seagate 6TB drive (plus a second as backup). In truth the re-writing of the drive was reasonably painless and then the old drive was swapped out for the new one and a backup of that was made. The old one and its backup will be bagged and not touched for a while until I’m absolutely certain that the new ones are running fine. I will probably use them to archive some really non essential files.
The Product Photography
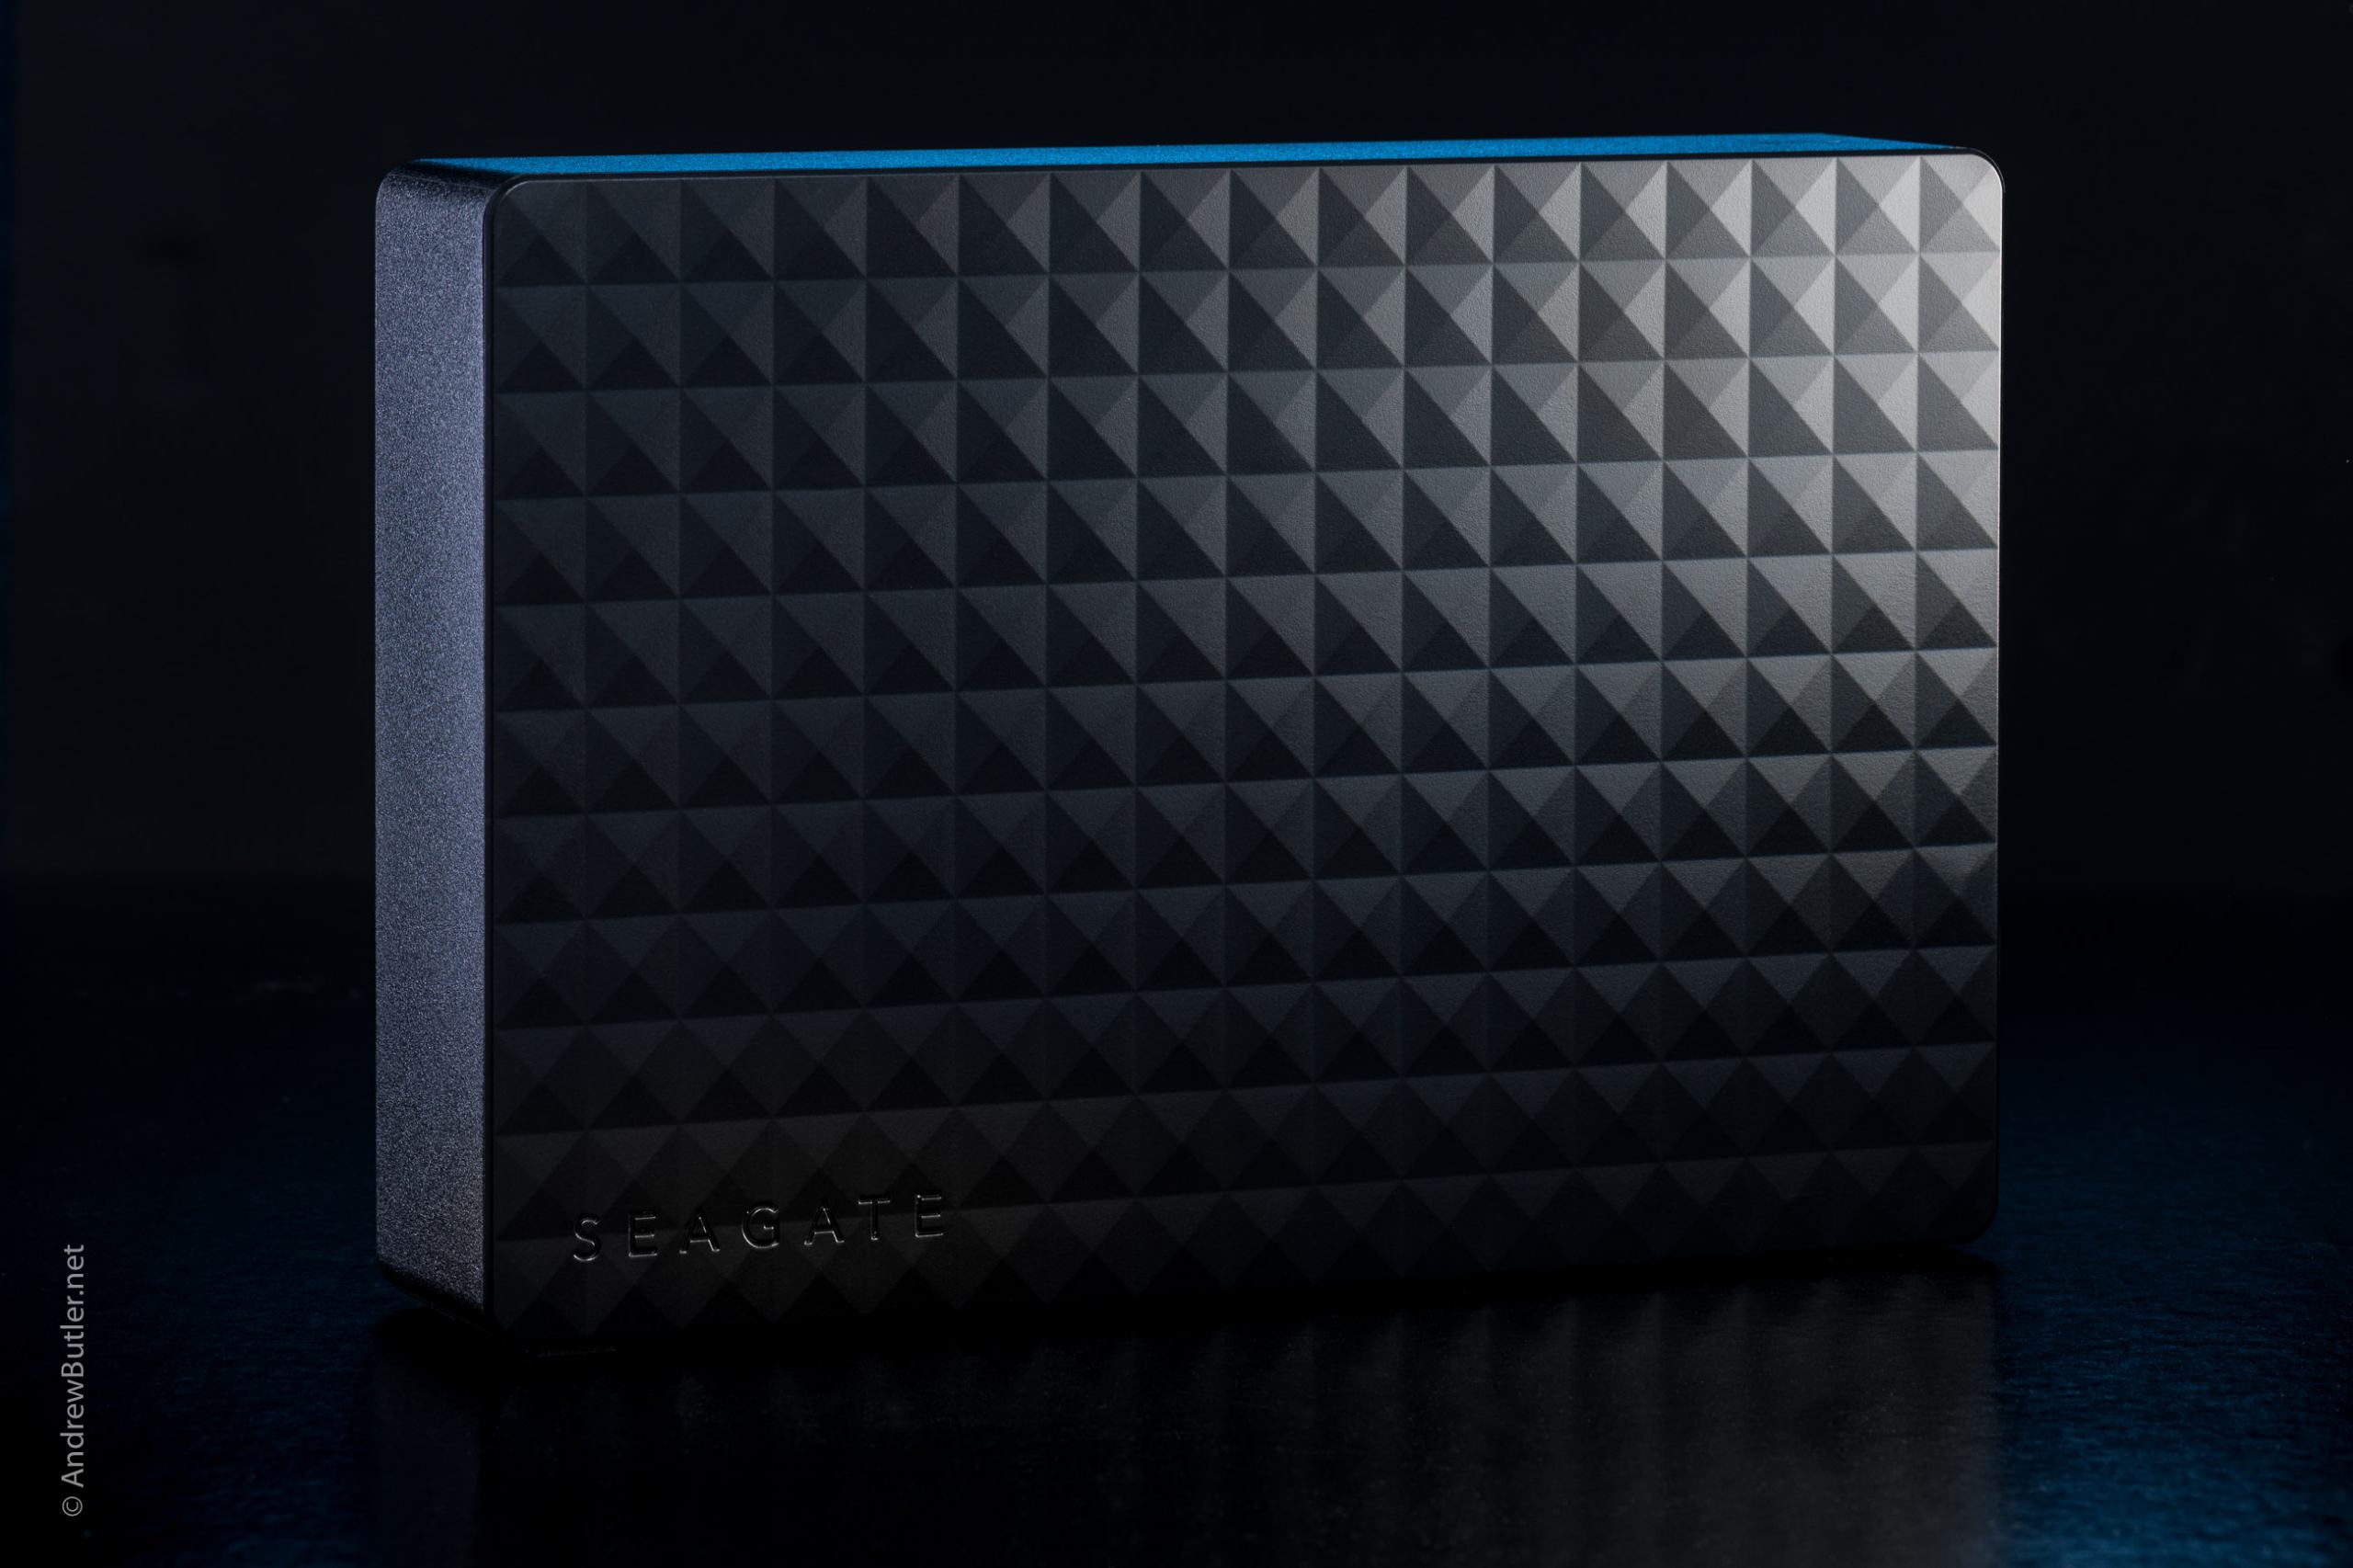
So, as I was about to take the new backup to its safe offsite place I noticed that it looked quite neat, a subtle finish on the side and some simple Seagate branding and, as one does with one’s lunch I though I would snap it.
In part this is because I was meant to be starting tosomeproduct-photography work of ‘tech equipment’ today but the job was re-scheduled. Part of the brief is for some simple low-key work with a touch of added colour.
And here we have a point where worlds collide. I have been supplied with a set of reference images, the (potential) problem is that whilst the files look like photos around half of them are vector images, renderings and so-forth.
With lens based photography there is generally only a small area (or plane) that is actually perfectly in focus. Think about conversations in films where the camera focus flips between the two faces but rarely shows the two in focus at the same time. With a vector file, typically, everything can be in focus from the nearest to the farthest point of the image. Further to this neat little highlights can be added randomly, shadows can be controlled in a way that you would never see in nature.
Focus can be extended by closing the lens down but eventually this makes the lens soft, it loses the seat spot of its abilities. The workaround to this is focus-stacking, basically dozens (running into hundreds) of shots are taken, moving the focus point slightly. These shots are then blended together on the computer but the process is time consuming and of course adds wear to the camera and lights.
Product Photography Lighting
Remembering that this is only for discussion four lights, a lot of diffusion and we have a shot.
For ease the drive is placed on a piece of card, initially grey but eventually satin black was used.
As ever much of my diffusion is created using small scrims of Translum. Again the cine guys will wax lyrical about the differing qualities of diffusion gleaned from differing fabrics – organic or otherwise. The blue light comes from the back of the studio and most of the light on the drive comes from the two sides. To the left there is a small strip softbox with a home-made Translum scrim – these soft boxes were cheap as chips but really are fantastic.
To the right there is a similar setup but a small reflector and grid contains the light to add focus.
Behind the scene there is a similar setup but a small reflector and grid contains but the light has a couple of blue gels
The final light firing through the really big scrim just lifts the overall scene lighting a little.
The Nikon, once set up isn’t touched at all. Using the 105 ƒ/2.8 Micro the D850 is connected to the Mac it can either be fired from the Mac or via an electronic radio release. Though old the Bowens lights can all be controlled with an remote (IR) controller which makes things easier. As can be seen the setup is helped by having a stupid amount of grips, stands and arms to hold everything!
At the end of this all I have an image to use for discussion and a friend on Instagram has just commented “You make a hard-drive look sexy.”


